 LazAgro

Every farm in Cameroon produces fertiliser that most farmers throw away or burn: maize stalks, groundnut haulms, cassava peels, plantain leaves, weeds, poultry litter, goat droppings, kitchen scraps. Learning how to make compost turns that pile of "rubbish" into a dark, crumbly material that feeds your soil, holds water through the dry season and cuts what you spend on chemical fertiliser.
Compost is not magic, and it is not instant. It takes work, some planning and a few weeks to months. But for vegetable growers, nursery operators, cocoa and plantain farmers and anyone working tired soil, it is one of the best investments of time on the farm.
This guide explains how composting works, what to put in and keep out, two practical methods (heap and pit) for different seasons, how to manage moisture under Cameroon's heavy rains and long dry spells, and how to use the finished compost.
1. Why compost matters on tropical farms
Tropical soils lose organic matter fast. Heat, heavy rain and repeated cultivation break it down and wash nutrients away. When organic matter falls, soils crust, dry out quickly and stop responding well to fertiliser.
Compost helps by:
- Feeding soil life, the worms, fungi and bacteria that keep soil loose and fertile.
- Holding water, so crops last longer into dry spells.
- Supplying nutrients slowly as it breaks down, including micronutrients that chemical fertilisers often lack.
- Improving structure: heavy clays drain better, sandy soils hold together.
- Making fertiliser work better, since soils rich in organic matter hold nutrients instead of losing them to runoff.
The FAO manual On-farm composting methods describes many systems used by smallholders in tropical countries. The methods below are adapted from those principles for Cameroonian conditions.
2. How composting works
Compost is made by microorganisms. They eat organic material and need four things:
- Carbon ("browns") for energy: dry leaves, straw, maize stalks, dry grass, sawdust, rice husks.
- Nitrogen ("greens") for growth: fresh grass, green leaves, kitchen scraps, manure, legume residues.
- Water: material should feel like a wrung-out sponge.
- Air: the helpful microbes need oxygen. Without it, the heap rots and smells.
When these are balanced, a well-built heap heats up within days. The heat speeds decomposition and kills many weed seeds and disease organisms. As the material breaks down, the heap cools, and worms and fungi finish the job.
3. What to put in, and what to keep out
| Browns (carbon) | Greens (nitrogen) | Keep out |
|---|---|---|
| Dry maize stalks and husks | Fresh grass and weeds without seeds | Plastic, metal, glass |
| Dry grass and leaves | Groundnut and bean haulms | Treated wood, painted wood |
| Rice husks, sawdust (in moderation) | Vegetable and fruit peels | Diseased plant material (unless your heap gets very hot) |
| Dry plantain and banana leaves | Cassava peels | Human waste and pet faeces |
| Shredded cardboard and paper | Poultry, goat, rabbit, cattle and pig manure | Meat, bones, oil (attract pests) |
| Cocoa pod husks (if disease-free) | Coffee pulp, brewery waste | Material sprayed with herbicide recently |
Chop large materials. Maize stalks and plantain pseudostems break down much faster when cut into pieces of a hand's length or smaller.
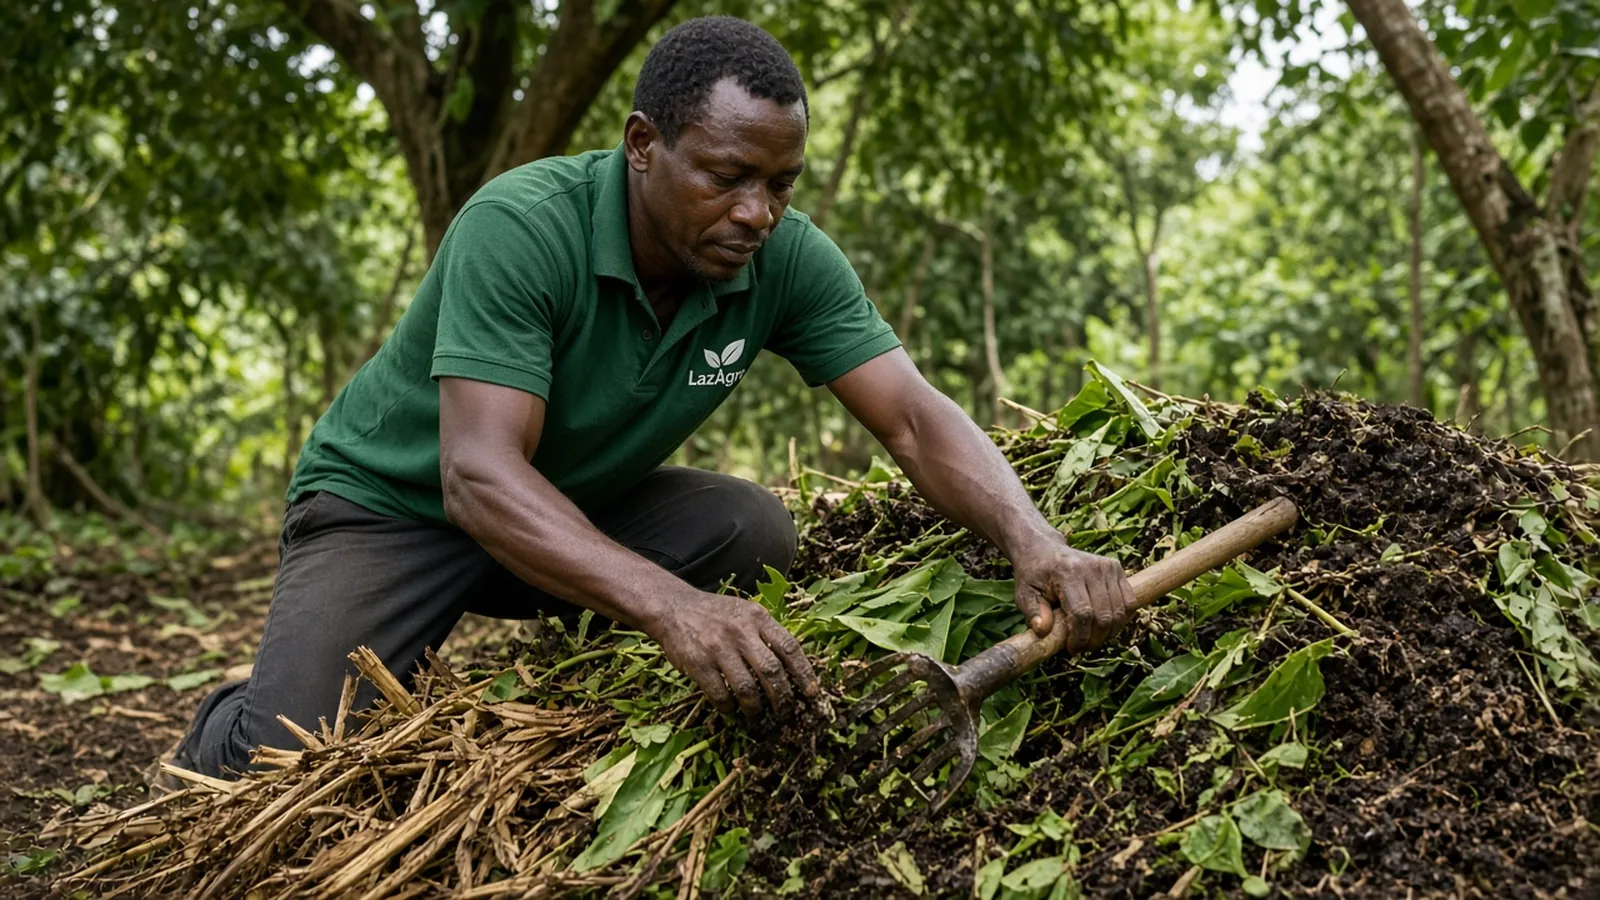
4. Method 1: the heap (best for the rainy season)
Above-ground heaps drain well, which matters in the South West, Littoral and other high-rainfall areas where pits can flood.
Step by step
- Choose a site that is shaded, slightly raised and close to where you will use the compost and to a water source.
- Mark an area about 1.5 m wide and as long as your material allows. A heap that is too small will not heat up.
- Lay a base of coarse, woody material like chopped maize stalks or small sticks, about 20 cm thick, for drainage and airflow.
- Add layers: about 20 cm of browns, then about 10 cm of greens or manure. Sprinkle a little old compost or good topsoil on each layer to bring in microbes.
- Water each layer lightly so it is moist but not dripping.
- Repeat until the heap is around 1–1.5 m high.
- Cover with plantain leaves, grass or an old sack to keep heavy rain off and hold moisture in.
- Insert a stick into the centre to check temperature: pull it out after a few days. If it feels hot, the heap is working.
5. Method 2: the pit (best for the dry season)
Pits hold moisture better, so they suit the dry season, drier areas in the Western Highlands and Adamawa, and the long dry season in the north.
Step by step
- Dig a pit about 1–1.5 m wide, around 1 m deep, and as long as needed. Many farmers dig two or three pits side by side so material can be moved from one to the next during turning.
- Choose a spot where rainwater will not run in. Raise a small earth bank around the edge.
- Fill with alternating layers of browns and greens, as for a heap, watering each layer.
- Cover with grass, leaves or soil to hold moisture.
- Turn by moving everything into the next pit, every few weeks.
6. Turning and moisture: the weekly checks
Turning
Turning mixes the outside material into the centre and brings in fresh air. Most farmers turn the heap two or three times over the composting period, often every two to three weeks. Each turn usually brings a new burst of heat.
Moisture
Take a handful from inside the heap and squeeze it.
- A few drops come out: about right.
- Water streams out: too wet. Add dry browns, turn, and cover from rain.
- Crumbly and dry: too dry. Water while turning.
Seasonal management in Cameroon
| Season | Main risk | What to do |
|---|---|---|
| Heavy rains | Waterlogging, nutrients washed out | Use heaps under shade or a simple roof, cover well, add more browns |
| Dry season | Heap dries and stops working | Use pits or shaded heaps, cover thickly, water when turning |
| Transition months | Rapid swings | Check moisture weekly with the squeeze test |
7. Troubleshooting common problems
| Problem | Likely cause | Fix |
|---|---|---|
| Bad smell like rotten eggs | Too wet, not enough air | Turn, add dry browns, improve drainage |
| Ammonia smell | Too much manure or fresh green material | Add browns, mix well |
| Heap not heating | Too small, too dry or too few greens | Make it bigger, water it, add manure or fresh greens |
| Flies and rats | Exposed food scraps or meat | Bury scraps in the centre, cover, never add meat or oil |
| Termites in the heap | Too dry | Keep moist and turn; termites prefer dry, woody piles |
| Weeds sprouting in finished compost | Heap never got hot enough | Build larger heaps; avoid seeding weeds or compost them separately |
8. When is compost ready?
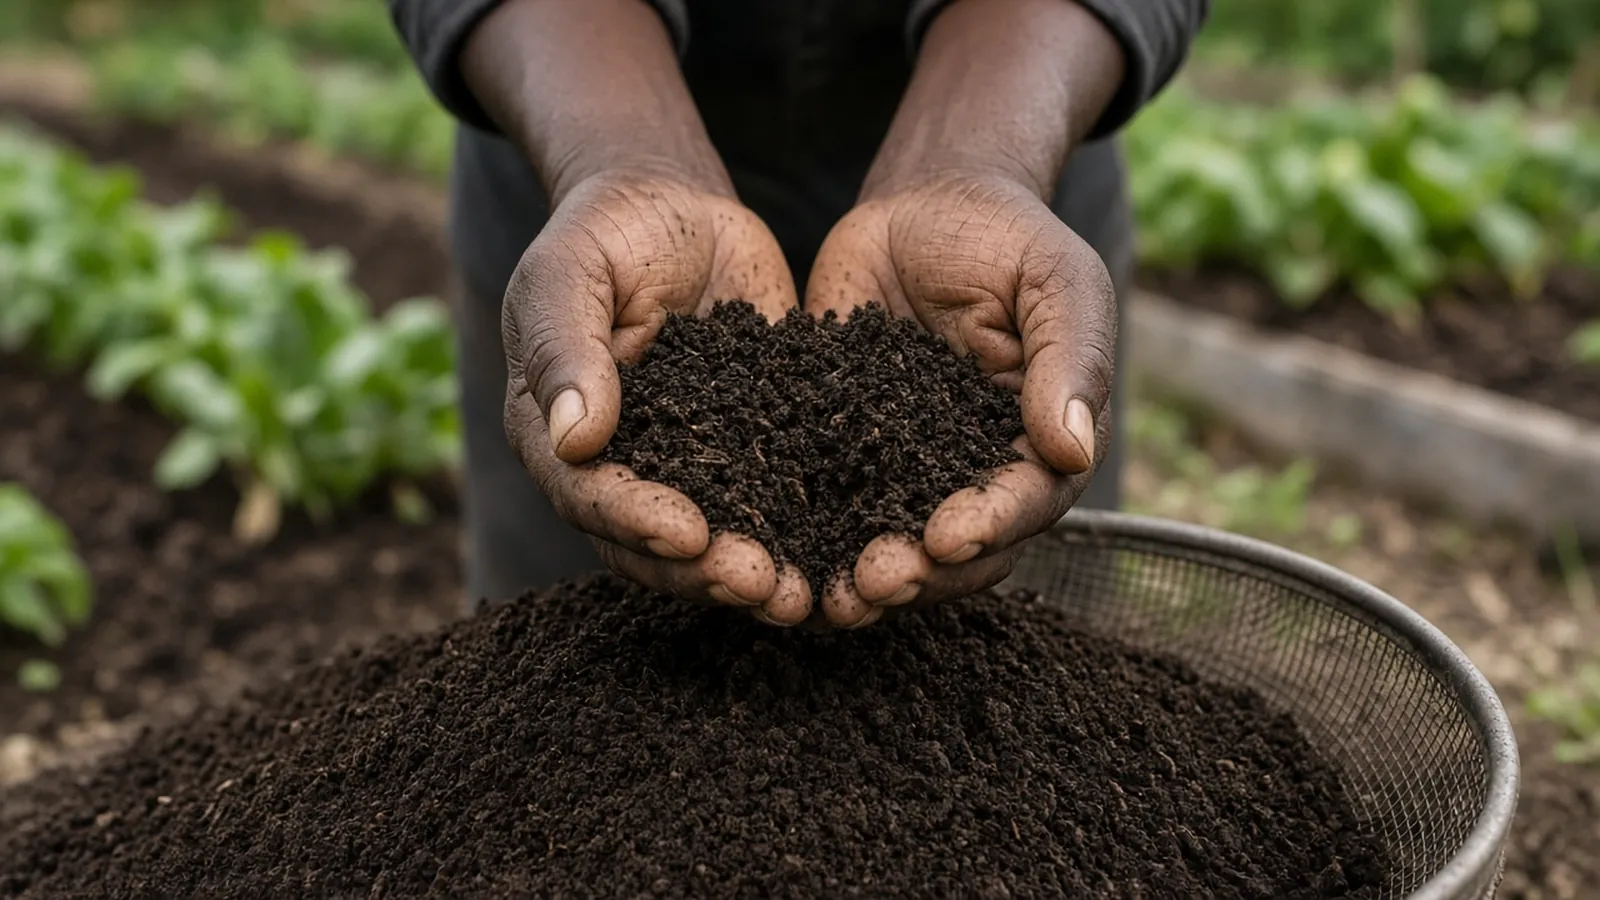
In warm conditions with good management, compost is often ready in about two to three months. Slower, unturned heaps can take much longer. Finished compost:
- Is dark brown to black and crumbly.
- Smells pleasant, like forest soil.
- Has no recognisable original materials, apart from a few woody bits.
- Has cooled down, even after turning.
Sieve it through a coarse mesh for nurseries and seedbeds. Put the leftover coarse pieces back into a new heap as a starter.
9. How to use compost on your crops
- Vegetable beds: mix compost into the top layer of soil before planting. Raised beds benefit greatly; our guide on building a raised garden bed shows how compost fits into the growing mix.
- Nursery media: well-sieved compost mixed with topsoil and sand makes a good seedling mix. See our seedling nursery guide.
- Planting holes: for plantain, cocoa, fruit trees and pepper, mix compost into the soil you return to the hole.
- Top dressing: spread around established plants and cover with mulch.
- Field crops: on maize and cassava fields, apply in rows or planting stations rather than spreading thinly across the whole field, unless you have large quantities.
How much to apply?
Rates vary with soil, crop and compost quality. For vegetable beds, many gardeners work in a layer of a few centimetres before planting. On field crops, farmers often focus compost in planting holes or rows where roots will find it. Your extension agent can suggest rates for specific crops, and your own trial strips will show what works.
10. Compost and soil conservation
Compost works best on soil that stays in place. On slopes, combine compost with contour planting, mulch and grass strips so heavy rains do not carry your new topsoil away. Our guide on preventing soil erosion on farms explains these methods in detail.
11. Compost as part of a livestock farm
If you keep poultry, pigs, goats or rabbits, you already have the most valuable compost ingredient: manure. Poultry litter mixed with dry grass and crop residues makes a rich compost. Pig manure should be fully composted before use on vegetables. Managing manure this way also reduces smells and flies around animal houses.
Recording how much manure and compost you produce and where you apply it helps you link soil care to yields over time. The LazAgro app lets you log farm activities and inputs by field, even offline, so you can see whether compost-treated plots yield more.
12. Common compost mistakes
- Piling everything in a heap without mixing browns and greens.
- Building heaps too small to heat up.
- Letting heaps dry out completely in the dry season.
- Leaving pits uncovered in the rains, so they flood.
- Using compost before it is finished, which can hurt young plants.
- Burning crop residues that could have become compost.
13. Going further: worm compost (vermicompost)
Some farmers add a second step: feeding partly decomposed material to earthworms in shaded boxes or beds. The worms turn it into vermicompost, a fine, dark, very rich material especially valued for nurseries and vegetable seedlings. Worm beds must stay cool, shaded and moist, and must not get the high heat of a fresh compost heap, so they are fed with material that has already cooled. Rabbit and goat droppings, vegetable peels and shredded leaves work well. It is a small extra activity that suits farms with a nursery or market garden, and vermicompost can also be bagged and sold to gardeners.
Frequently asked questions about how to make compost
1. How long does it take to make compost?
With a good mix, moisture and turning, compost is often ready in about two to three months in warm conditions. Unturned heaps take longer.
2. Can I make compost without manure?
Yes. Fresh green leaves, grass, legume residues and kitchen scraps supply nitrogen. Manure speeds things up and enriches the compost, but it is not required.
3. Is a heap or a pit better?
Heaps drain better and suit the rainy season and wet areas. Pits hold moisture and suit the dry season and drier zones. Many farmers use both at different times of year.
4. Why does my compost smell bad?
Usually because it is too wet and lacks air. Turn it, add dry brown material, and protect it from heavy rain.
5. Can compost replace chemical fertiliser completely?
On many small plots, generous compost use can greatly reduce fertiliser needs. On large fields or very poor soils, many farmers combine compost with targeted fertiliser for the best results.
Final thoughts
Composting is one of the few farm practices that costs almost nothing in cash and pays back for years. Start with one heap built from what you already have, check it weekly, and use the first batch on your most valuable crop. Once you see the difference in your soil, you will never burn maize stalks again.
Link soil care to better harvests
Use LazAgro to record compost, inputs and yields by field, online or offline, and see what really improves your farm.
Discover LazAgro